1. Introduction
In the world of smart building automation, KNX Touch Panels stand as the ultimate interface between humans and technology. They serve as the visual and functional centerpiece of every KNX system — enabling users to control lighting, HVAC, blinds, and scenes from a single elegant screen. Whether it’s a luxury villa, hotel suite, or corporate boardroom, KNX touch panels combine style, intelligence, and convenience.
A modern KNX installation is incomplete without a touch interface. Unlike traditional switches, these panels provide real-time control, customizable pages, and integration with voice assistants or IP cameras. As technology evolves, touch panels are replacing multiple switches, simplifying both aesthetic design and user experience.
In this article, we’ll explore everything about KNX Touch Panels and Room Controllers — from their working principles to setup, leading brands, and top models you can consider for your next KNX project.
2. What is a KNX Touch Panel / Room Controller?
A KNX Touch Panel, also known as a KNX Room Controller, is a user interface that communicates directly with the KNX bus to control and monitor connected devices. It functions as a digital command center for each room or area, integrating multiple control functions such as:
- Lighting and dimming
- Shutter/blind control
- Temperature and HVAC regulation
- Scene control and automation
- Energy monitoring and scheduling
Touch panels are available in various formats — from wall-mounted 4-inch panels to 10-inch full-HD screens with integrated logic and visualization features. Many also include integrated sensors (temperature, proximity, brightness) and logic modules, reducing the need for additional devices.
3. Working Principle & Communication
Every KNX Touch Panel connects to the KNX bus line (TP or IP) using either a KNX twisted pair connection or KNXnet/IP communication. Here’s how it functions:
- Input Commands: When the user taps a button or slider on the screen, the panel generates a KNX telegram (digital command).
- Bus Transmission: This telegram travels over the KNX network via twisted pair or IP.
- Action Execution: The command is received by the corresponding KNX actuator (e.g., lighting actuator), which performs the required action.
- Feedback Display: The panel then updates the status (ON/OFF, temperature value, position) in real-time.
Most modern touch panels also support IP-based visualization, allowing remote control via smartphones or tablets through secure web interfaces or KNX visual servers.
4. Technical Specifications (Typical Range)
| Specification | Typical Value / Range |
|---|---|
| Power Supply | 24V DC / KNX Bus Powered |
| Display Size | 3.5” to 10.1” |
| Display Type | Capacitive Touchscreen, TFT/LCD |
| Resolution | Up to 1920×1200 Full HD |
| Communication Interface | KNX TP / KNX IP (KNXnet/IP) |
| Integrated Sensors | Temperature, Humidity, Proximity (optional) |
| Mounting Type | Flush / Surface Mount |
| Logic Functions | Up to 100 logic blocks in some models |
| Visualization | Custom UI with pages, icons, floor plans |
| Operating System | Embedded Linux / Proprietary KNX OS |
| Configuration Software | ETS + Manufacturer Software (if applicable) |
5. Installation and ETS Configuration
Installing a KNX Touch Panel involves a few key steps:
- Mounting:
Install the back box at standard switch height (1.2–1.5m). Ensure correct orientation and stable KNX bus connection. - Wiring:
Connect the KNX twisted pair (red/black) to the terminal block or, for IP models, connect via Ethernet to the KNX IP Router or Interface. - Power Supply:
Some panels draw power from the KNX bus; others require an auxiliary 24V DC supply. - ETS Programming:
- Import the manufacturer’s ETS product database file (.knxprod).
- Assign group addresses to buttons, sliders, and functions.
- Download the configuration to the device.
- Customization:
Use the manufacturer’s GUI design tool to customize pages, icons, themes, and navigation layouts.
After configuration, the panel displays room control functions, real-time feedback, and can even integrate IP cameras or weather data if supported.
6. Benefits and Use Cases
Key Benefits:
- Centralized control: Manage all building systems from one point.
- Flexible customization: Personalize layouts, colors, and pages per user or room.
- Aesthetic integration: Modern, sleek design with flush-mount options.
- Multi-protocol support: Many panels support DALI, Modbus, BACnet via gateways.
- Energy efficiency: Real-time monitoring and scheduling reduce energy waste.
- Scalability: Ideal for both residential and commercial buildings.
Common Use Cases:
- Smart homes and luxury villas
- Corporate meeting rooms
- Hotels and hospitality suites
- Smart classrooms and hospitals
- Building lobbies and reception areas
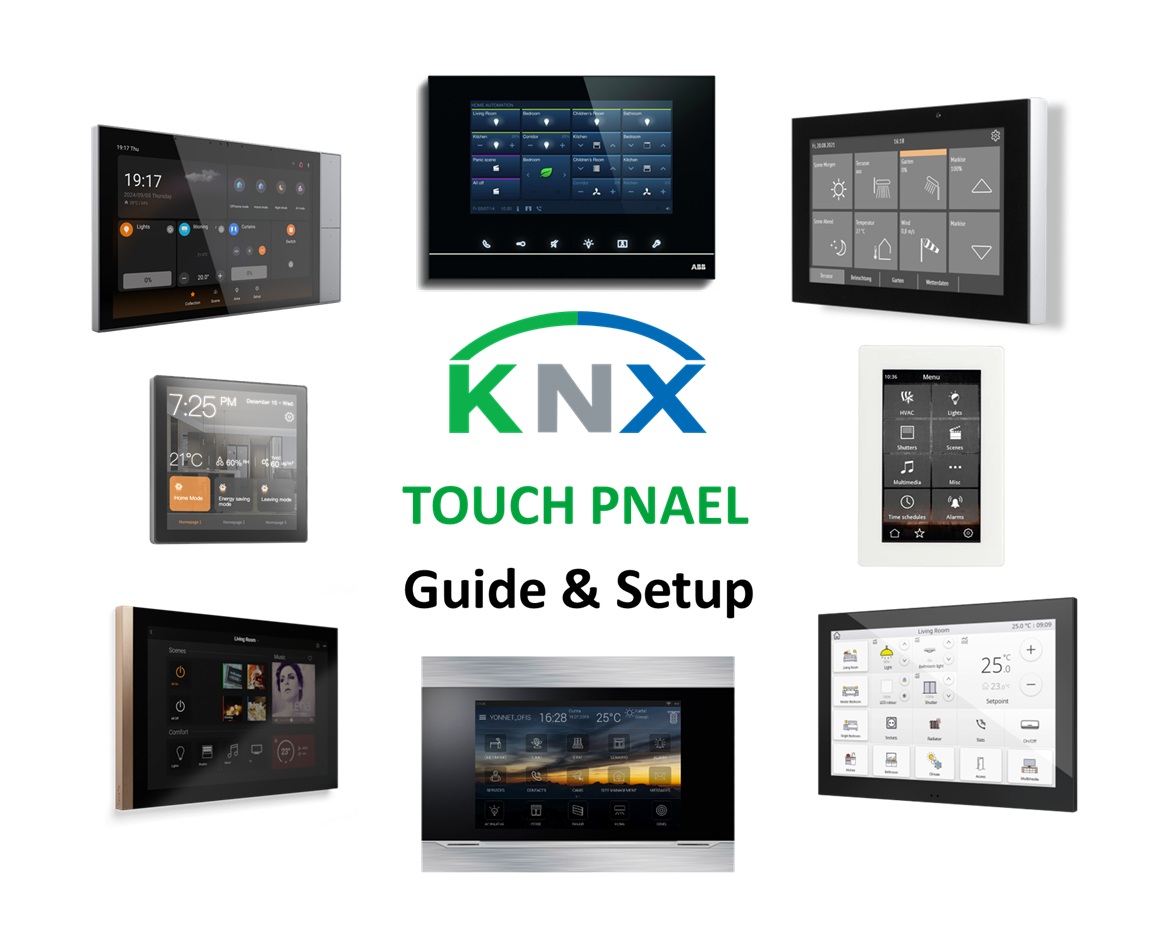
7. Top KNX Touch Panel Brands and Models
Here’s a list of some of the most popular and reliable KNX Touch Panels and Room Controllers in 2025:
1. Gira G1
- Display: 6” capacitive multi-touch
- Power: PoE / 24V DC
- Interface: KNX IP, WLAN
- Features: Temperature sensor, room controller, IP camera integration
- Highlight: Serves as both touch panel and smart home control center
2. Zennio Z41 Pro
- Display: 4.1” capacitive
- Power: 29V DC
- Functions: 56 control functions, customizable pages
- Features: Internal temperature sensor, customizable icons
- Highlight: Widely used in residential automation
3. Jung Smart Control 10
- Display: 10.1” HD
- Interface: KNX IP, PoE
- OS: Android-based, supports Smart Visu Server
- Highlight: Premium look, perfect for large building projects
4. MDT Glass Touch II Smart
- Display: 3.5” glass front, RGB backlight
- Power: KNX Bus
- Functions: Up to 12 touch areas, temp control
- Highlight: Compact yet stylish wall controller
5. Basalte Ellie
- Display: 10.1” full HD, aluminum body
- Power: PoE
- Interface: KNX IP, Basalte Core integration
- Highlight: High-end design for luxury interiors
8. Comparison Table – Top KNX Touch Panels
| Brand / Model | Display | Power | Interface | Special Features | Ideal For |
|---|---|---|---|---|---|
| Gira G1 | 6” | PoE / 24V DC | KNX IP | Room control, sensors, cameras | Homes / Offices |
| Zennio Z41 Pro | 4.1” | 29V DC | KNX TP | Custom icons, HVAC | Apartments |
| Jung Smart Control 10 | 10.1” | PoE | KNX IP | Android OS, visualization | Commercial |
| MDT Glass Touch II | 3.5” | KNX Bus | KNX TP | Multi-zone touch, RGB feedback | Compact rooms |
| Basalte Ellie | 10.1” | PoE | KNX IP | High-end design, voice ready | Luxury homes |
9. Integration with KNX Systems
KNX Touch Panels serve as the front-end interface that interacts with:
- KNX Actuators: for lighting, dimming, HVAC, and shutters.
- KNX Sensors: for motion, brightness, and temperature feedback.
- KNX Gateways: for DALI, Modbus, or BACnet-controlled systems.
- KNX IP Routers / Interfaces: to enable remote or IP-based control.
- Visualization Servers: such as Gira X1, Thinka, or Zennio Z70 for advanced dashboards.
Proper integration ensures smooth bi-directional communication between visualization and field devices, ensuring full system interoperability.
10. Conclusion
A KNX Touch Panel is more than just a control screen — it’s the intelligent gateway between humans and building automation. With customizable layouts, powerful logic, and elegant design, touch panels define the experience of modern smart environments.
Choosing the right panel depends on your design preference, integration requirements, and budget. Whether it’s the minimalist MDT Glass Touch II or the feature-rich Gira G1, each model enhances the comfort, control, and aesthetics of a KNX installation.
For installers and integrators, pairing the right touch panel with suitable actuators and KNX IP routers ensures a seamless, responsive, and future-ready system.