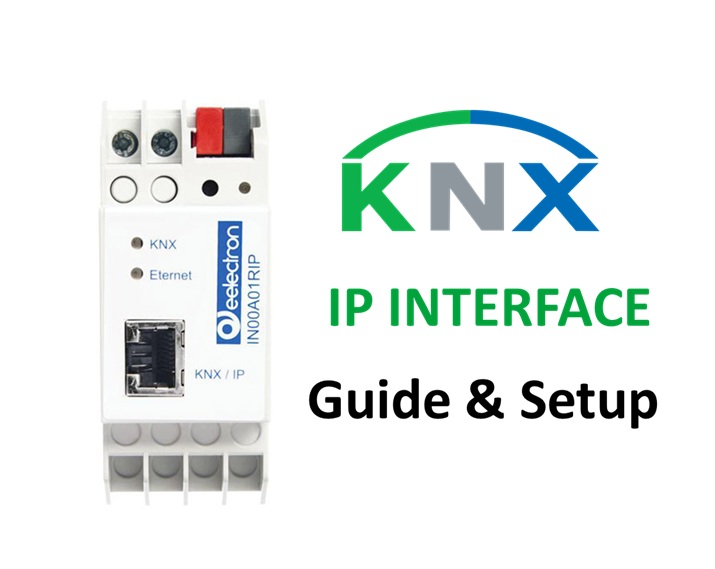
Introduction: What is a KNX IP Interface?
In modern building automation, the KNX IP Interface acts as the communication bridge between the bus system and an Ethernet (IP) network. It allows devices, visualization servers, and programming tools like ETS (Engineering Tool Software) to connect to installations using TCP/IP instead of the traditional twisted-pair (TP) wiring.
By translating KNX telegrams into Network packets, this device enables faster programming, remote access, and efficient data routing—making it essential for large and modern installations.
Key Benefits:
- Enables KNX programming via LAN or Wi-Fi
- Reduces telegram traffic using net/IP tunneling
- Allows remote maintenance over VPN or internet
- Simplifies integration with visualization servers (Gira HomeServer, Thinka, or 1Home)
- Supports simultaneous tunneling connections for multiple users
Learn the basics of KNX in our complete beginner’s guide →
How Does a KNX IP Interface Work?
A KNX IP Interface communicates using the Network protocol, which defines two main modes of operation:
Tunneling Mode:
Used for point-to-point communication between ETS and the KNX bus. Each tunneling connection acts like a virtual USB interface
When a device like a server or visualization tool sends a command, the IP Interface converts the message into telegrams for execution on the bus.
Why You Need a KNX IP Gateway in Modern Installations
As smart buildings grow in size and complexity, traditional KNX TP connections become a bottleneck. A KNX IP Interface overcomes this by allowing:
- High-speed communication between devices
- Centralized visualization and monitoring
- Integration with IoT or BACnet systems
- Remote ETS access without physically connecting to the line
Additionally, it minimizes cabling, simplifies commissioning, and provides redundancy when used with IP Routers.
Technical Specifications (Typical)
| Parameter | Specification |
|---|---|
| Network Type | Ethernet 10/100 Mbps |
| Bus Connection | TP (Twisted Pair) |
| Power Supply | 12–30 V DC or via KNX Bus |
| Protocol Support | KNXnet/IP Tunneling |
| Max Tunneling Connections | 4 to 10 (model dependent) |
| IP Configuration | DHCP / Static |
| Security | KNX IP Secure (on newer models) |
| Mounting | DIN Rail or Surface mount |
| Operating Temp | -5°C to +45°C |
| LED Indicators | Power, Bus, Network Activity, Error |
Difference Between KNX IP Interface and IP Router
| Feature | IP Interface | IP Router |
|---|---|---|
| Primary Use | ETS programming, PC connection | Line coupling and routing |
| Connections | Up to 5–10 tunneling connections | Supports multicast routing |
| Bus Communication | Point-to-point (tunneling) | Broadcast (routing) |
| Setup Complexity | Simple | Advanced |
| Cost | Lower | Higher |
| Use Case | Small to medium projects | Large multi-line projects |
See our detailed comparison: KNX IP Router vs Interface →
Common Use Cases
- ETS Programming Access: Connect ETS directly via LAN or Wi-Fi without physical cable.
- Remote Troubleshooting: Access a remote installation via VPN to diagnose or upload changes.
- Smart Server Integration: Bridge visualization servers like Thinka, Zennio Z41 Server, or Gira HomeServer to the bus.
- Multi-user Access: Allow several engineers to program or monitor the bus simultaneously.
Popular KNX IP Interface Brands and Models
Here are the most reliable interfaces available in the market:
GIRA IP Interface 216700
- Connections: Up to 5 tunneling connections
- Mounting: 2 TE DIN rail
- Power Supply: From KNX bus
- Special Features: DHCP, Manual Network setup, ETS6 compatible
- Best For: Small commercial or residential systems
ABB IPS/S 3.1.1
- Connections: 4 simultaneous tunneling
- Functions: Tunneling only (no routing)
- Mounting: 2-module DIN rail
- Power: 24 V DC external
- Notes: Stable and compatible with all ETS versions
Hager TYF120
- Connections: 5 tunnels
- Power: Bus-powered
- Features: Auto IP configuration, LED indicators
- Use Case: Compact installations needing direct network access
MDT SCN-IP000.03
- Connections: Up to 5 simultaneous tunnels
- Security: IP Secure supported
- Mounting: 2TE DIN rail
- Extras: Integrated web server for diagnostics
- Perfect For: Secure commercial or industrial setups
Theben IPsecure 7169200
- Connections: 8 tunnels
- Functions: IP Secure, automatic address allocation
- Power: 12–30 V DC
- Special Feature: Security-enabled tunneling
Weinzierl IP Interface 731
- Connections: Up to 5 tunnels
- Protocol: KNXnet/IP
- Feature: Plug-and-play via DHCP
- Compactness: Ideal for retrofit projects
Step-by-Step: How to Configure a KNX IP Interface in ETS6
- Connect the Interface:
Plug the IP Gaeway to your network (LAN) and ensure it’s powered. - Launch ETS6:
Open your project and go to Bus → Add Interface. - Scan for Devices:
ETS automatically detects interfaces available in your LAN via multicast. - Assign the device:
Select the detected device and set it as the programming gateway. - Configure IP Settings:
- DHCP or manual IP address
- Assign individual address (e.g., 1.1.250)
- Enable or disable KNX IP Secure (if supported)
- Test Communication:
Open Diagnostics → Connection Manager to ensure the interface is online and responding. - Start Programming:
Now, upload or download your project from ETS directly through IP without connecting a USB or serial interface.
KNX IP Secure – The Next Step in Safe Communication
With the rise of IoT and networked systems, security is paramount. The IP Secure standard (EN 50090-3-4) encrypts all IP telegrams, ensuring:
- Data integrity and confidentiality
- Protection from unauthorized access
- Secure ETS programming over remote connections
Leading brands like MDT, Theben, and Weinzierl already offer IP Secure-compliant models for critical or enterprise-grade installations.
Integration Possibilities with IP Interface
The KNX IP Interface opens doors to endless integration possibilities:
- Smart Home Servers: Thinka, 1Home, Gira, Jung, Zennio
- Voice Assistants: Alexa, Google Home, Apple HomeKit (via KNX gateways)
- Visualization Systems: Control4, Crestron, or openHAB
- BMS Protocols: BACnet, Modbus TCP, or MQTT bridges
Troubleshooting Tips
| Problem | Cause | Solution |
|---|---|---|
| ETS not connecting | IP not in same subnet | Assign correct IP or enable DHCP |
| No communication | KNX bus not powered | Check power supply or polarity |
| Slow response | Too many tunnels active | Limit simultaneous connections |
| Device not found | Firewall blocking multicast | Allow UDP ports 3671, 3672 |
| Security error | Mismatch in Secure keys | Re-enter key in ETS configuration |
Best Practices for Installation
- Always use shielded Ethernet cables (Cat6 or Cat7) to prevent interference.
- Place the interface near the central panel for easier maintenance.
- Use a dedicated VLAN or subnet for IP devices in large projects.
- When using multiple interfaces, assign unique IPs and tunneling addresses.
- For security, enable KNX IP Secure and restrict remote access via VPN only.
Summary
The KNX IP Interface is a vital link in any modern smart building infrastructure. It transforms KNX from a closed, local bus system into a network-enabled, secure, and scalable platform. Whether for a home, hotel, or office, using an IP Interface ensures faster commissioning, easier maintenance, and better integration with visualization systems.
If you’re planning a new installation or upgrading an existing setup, consider adding an IP Interface for better flexibility and future readiness.
Key Takeaways
- IP Interface = Bridge between KNX and Ethernet
- Supports ETS programming, tunneling, and remote access
- Multiple brands available – MDT, Theben, Gira, ABB, Hager
- IP Secure adds encryption for safe communication
- Ideal for medium to large installations
Conclusion
In a world where every system is moving toward network-based communication, the KNX IP Interface is not just a luxury—it’s a necessity. It connects your smart building to the digital world, ensuring faster programming, secure operation, and easy expansion.
Whether you’re an installer, system integrator, or enthusiast, mastering the IP Interface is essential for creating future-ready automation systems.